
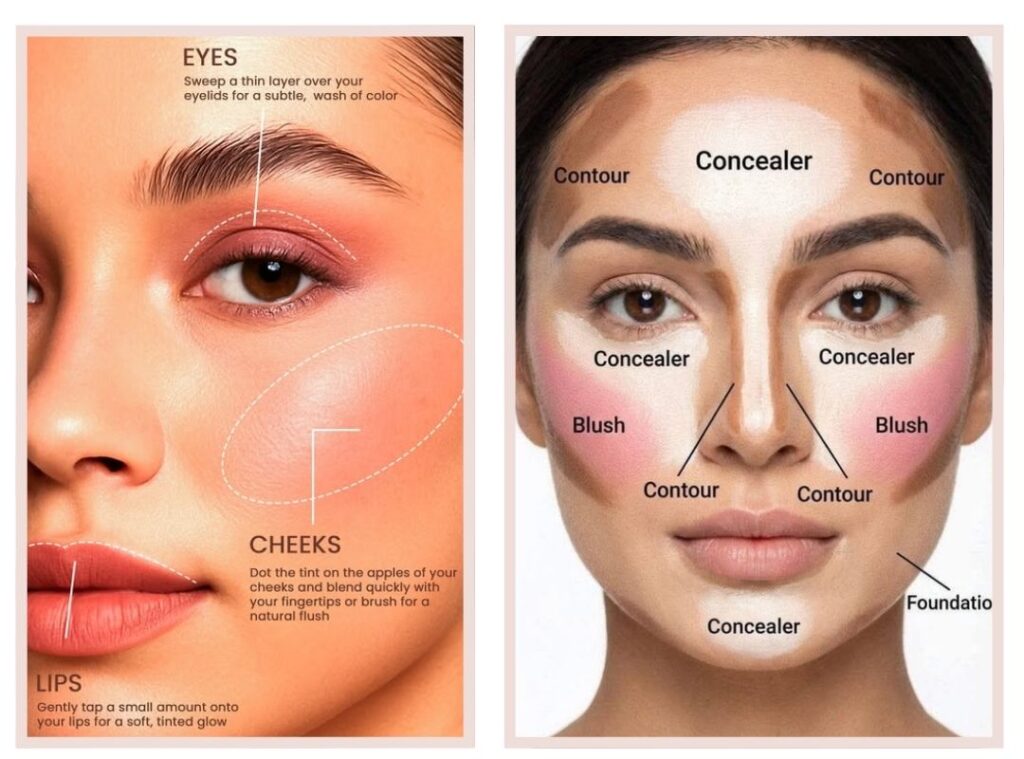
If you have a round face, you may wonder how to apply blush to add color while giving your features a slightly more lifted look. The good news is that you don’t need complicated makeup techniques to make a difference.
Blush placement can change your makeup’s overall look. Instead of concentrating most of the color directly on the fullest part of your cheeks, try placing it a little higher and blending it outward toward your temples. This creates a soft diagonal effect that can visually draw the eye upward.
In this guide, you’ll learn how to apply blush to a round face, where to place it, how to blend it, which common mistakes to avoid, and how to choose a shade and formula that work with your makeup routine.
If you’re building your makeup routine from the beginning, learn how to apply foundation without looking cakey before moving on to blush.

Where Should You Put Blush on a Round Face?
For a round face, try placing your blush slightly above the apples of your cheeks and blending it upward toward your temples.
This placement can help draw the eye upward and create the appearance of more definition.
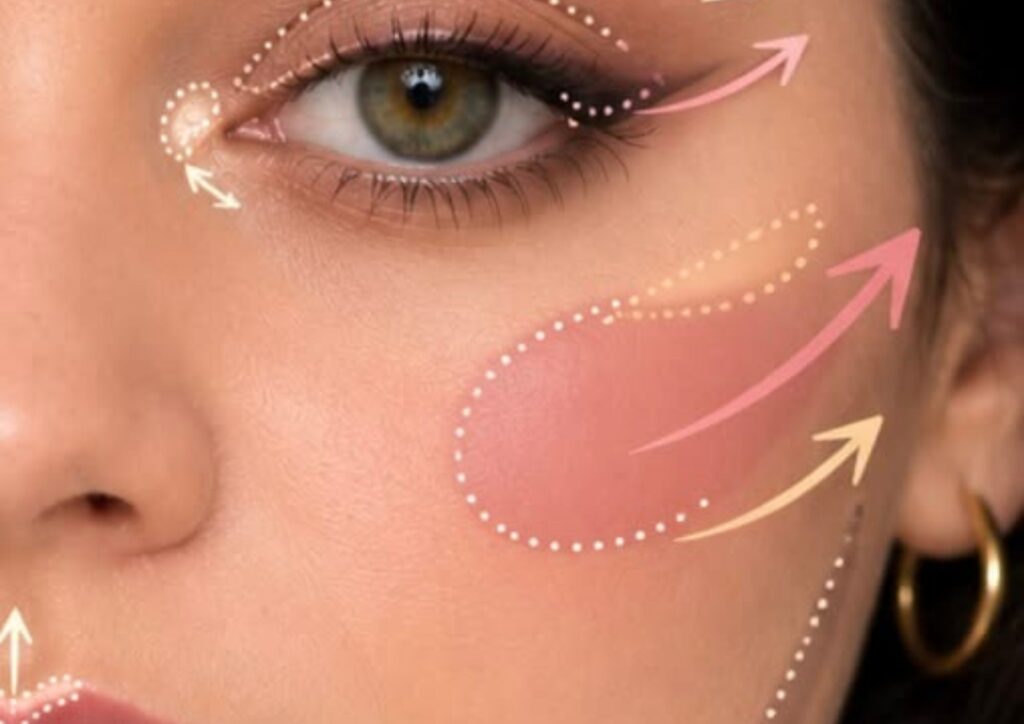
A simple way to find the right area is to smile gently and notice where the fullest part of your cheek sits. Rather than putting most of your blush directly in that area, begin a little higher and blend outward and upward.
You don’t have to follow an exact line or placement. The goal is simply to keep the strongest part of the color higher on the cheek while creating soft, blended edges.
A Simple Blush Placement Guide
Think of your blush placement as a soft diagonal movement:
Cheek → Upward → Toward the temple
Start with a small amount of product around the upper cheek area, then gradually blend it toward the temples.
Keeping the color concentrated higher on the cheek can give your makeup a more lifted appearance, while blending the edges prevents the blush from looking like a stripe.
The key is to start lightly. It is much easier to add more blush than to remove too much.
Should You Apply Blush to the Apples of Your Cheeks?
Yes, you can.
Applying blush to the apples of your cheeks is a classic makeup technique, and there is nothing wrong with using it if you like the result.
However, if you want your makeup to create a more lifted appearance, try not to concentrate too much product directly on the fullest part of the cheeks.
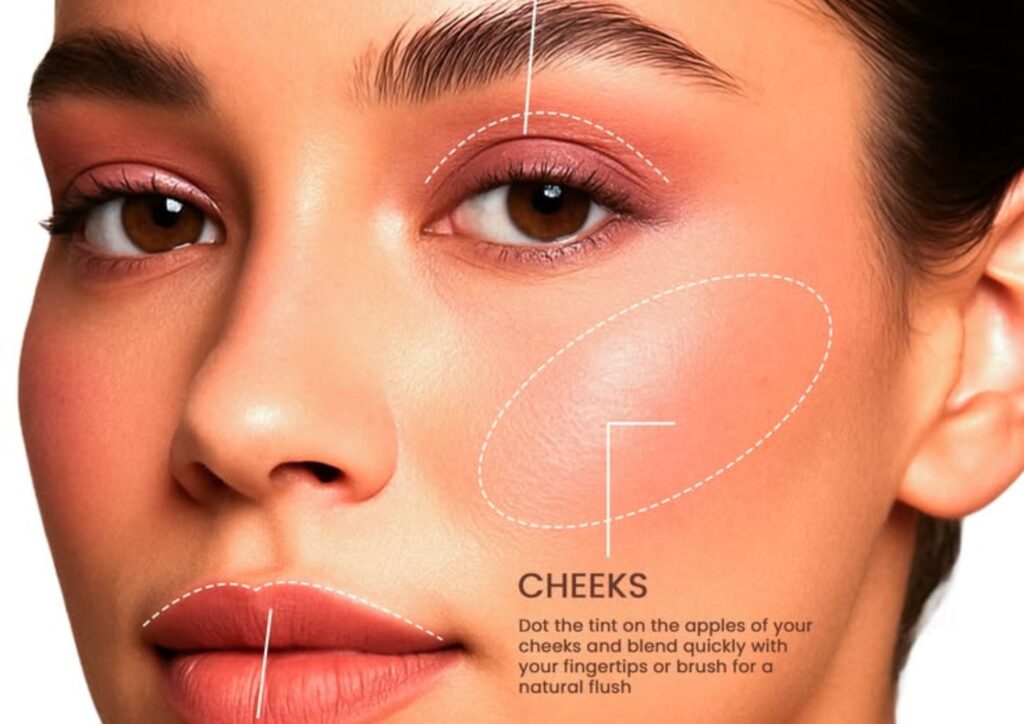
Instead, use a smaller amount on the apples and blend the color slightly upward and outward. This allows you to keep some of the fresh, youthful look of blush on the cheeks without making the center of the face the main focus.
Makeup doesn’t have strict rules, so if you love the way blush looks on the apples of your cheeks, you can absolutely wear it there.
How to Apply Blush for a Lifted Look
Once you know where you want the color to go, applying blush becomes much easier.
Follow these simple steps.
Step 1: Start With Your Base
Apply your usual skincare, foundation, and concealer before applying your blush.
A smooth, well-blended base gives your blush an even surface to sit on and makes it easier to blend.
You can also learn how to apply concealer properly if you want to create a more even-looking complexion.
Make sure your foundation and concealer are blended well before moving on to blush. This helps prevent patchiness and keeps the finished makeup looking seamless.
Step 2: Find Your Cheekbone
Place your fingers gently along your cheek to feel where your cheekbone sits.
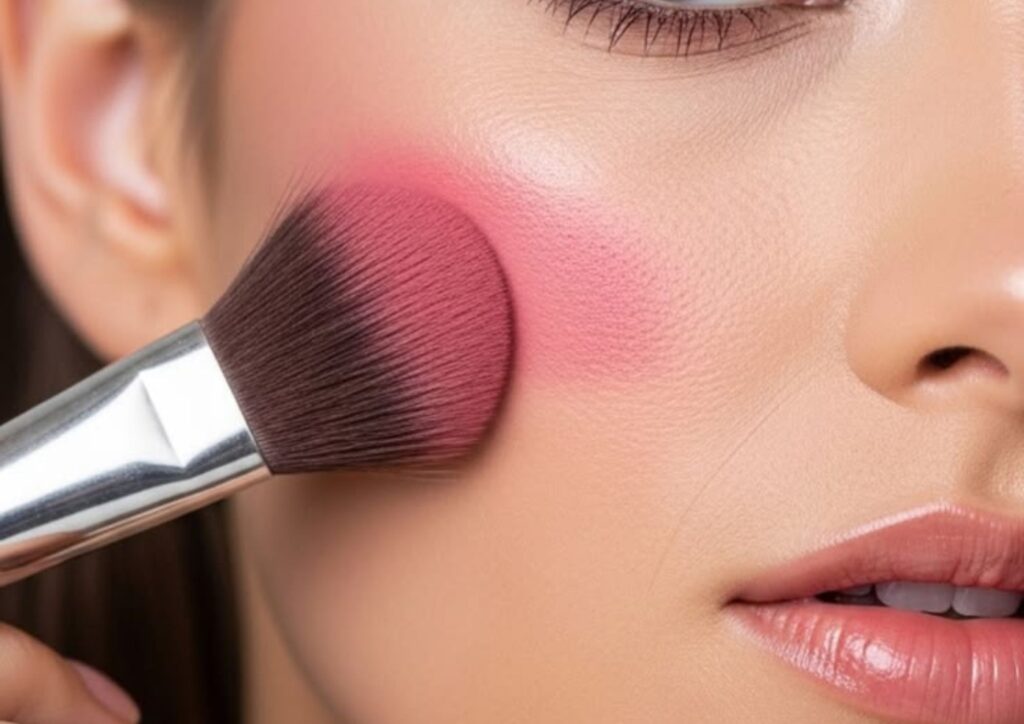
Your cheekbone gives you a useful guide for where to begin applying the product.
You don’t need to apply blush directly on top of the highest point of the bone. Instead, use the upper cheek area as your starting point and blend outward.
Step 3: Start Slightly Above the Apples
Take a small amount of blush and place it slightly above the fullest part of your cheek.
If you’re using a powder, tap off the excess before touching the brush to your skin. For cream or liquid blush, start with a small dot or thin layer.
Remember, you can always add more.
Step 4: Blend Upward
Use your brush, sponge, or fingers to gently blend the blush upward and outward toward your temples.
Avoid dragging the product downward toward the jaw.
The upward motion helps create a softer, more lifted-looking finish and keeps the color concentrated around the upper cheek.
Step 5: Build the Color Slowly
If you want more color, add another light layer rather than applying a large amount at once.
Building the color gradually gives you more control and makes it easier to achieve an even finish.
It also reduces the chance of ending up with overly bright or heavy-looking cheeks.
Blush Placement: Above or Below the Cheekbones?
For a more lifted-looking effect, placing blush around or slightly above the cheekbone can work well.
You don’t need to take the blush extremely high. Start around the upper cheek area and blend gently toward the temples.
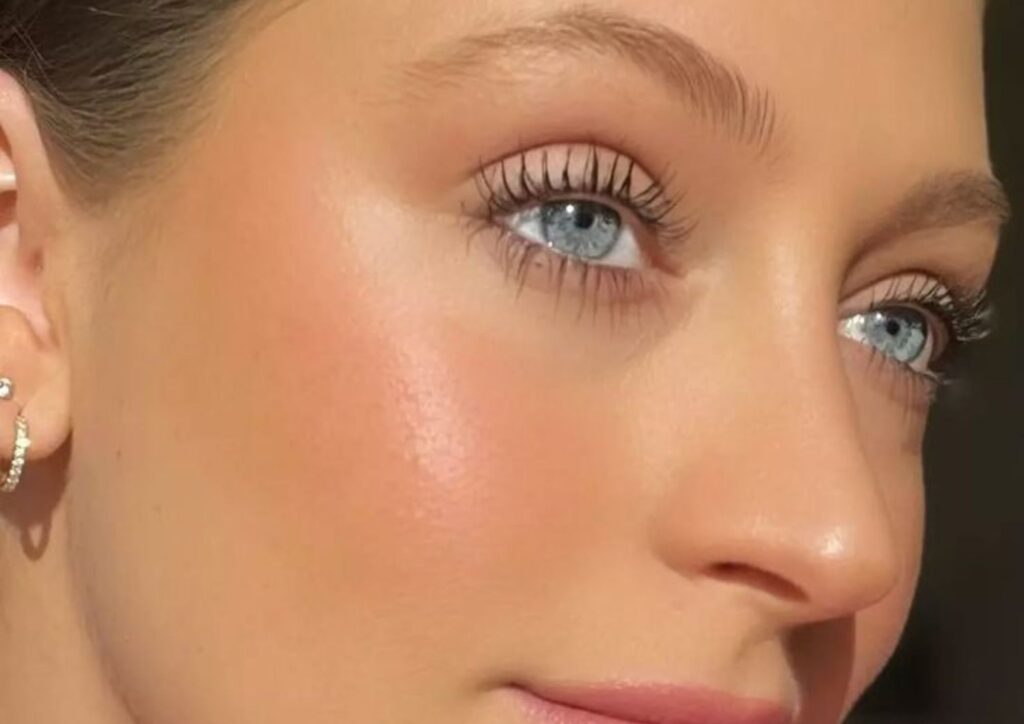
Think of the placement as a gradual transition rather than a precise line. The blush should fade softly as it moves toward the temples.
Areas to Avoid Overloading With Blush
If your goal is to create the appearance of a more elongated or defined face, avoid concentrating a large amount of product:
- Directly in the center of the cheeks
- Too close to the sides of the nose
- Too low on the cheeks
- Along the lower part of the face
This doesn’t mean these areas are completely off-limits.
Your makeup style is personal, and different placements can create different effects. The important thing is understanding how changing the position of your blush can change the overall appearance of your makeup.
How High Should You Apply Blush?
Keep your blush around the upper cheek area and blend it softly toward the temples.
If you’re new to blush placement, imagine a gentle diagonal line running from the outer part of your cheek toward your temple.
Keep the strongest concentration of color closer to the cheekbone, then soften the edges as you move outward.
You don’t want the blush to look like a separate stripe sitting on top of your makeup. Good blending should make the color appear to melt naturally into the rest of your base.
If you accidentally take the blush too high, don’t panic. Use a clean brush or makeup sponge to soften the edges.
Cream vs. Powder Blush: Which Is Better?
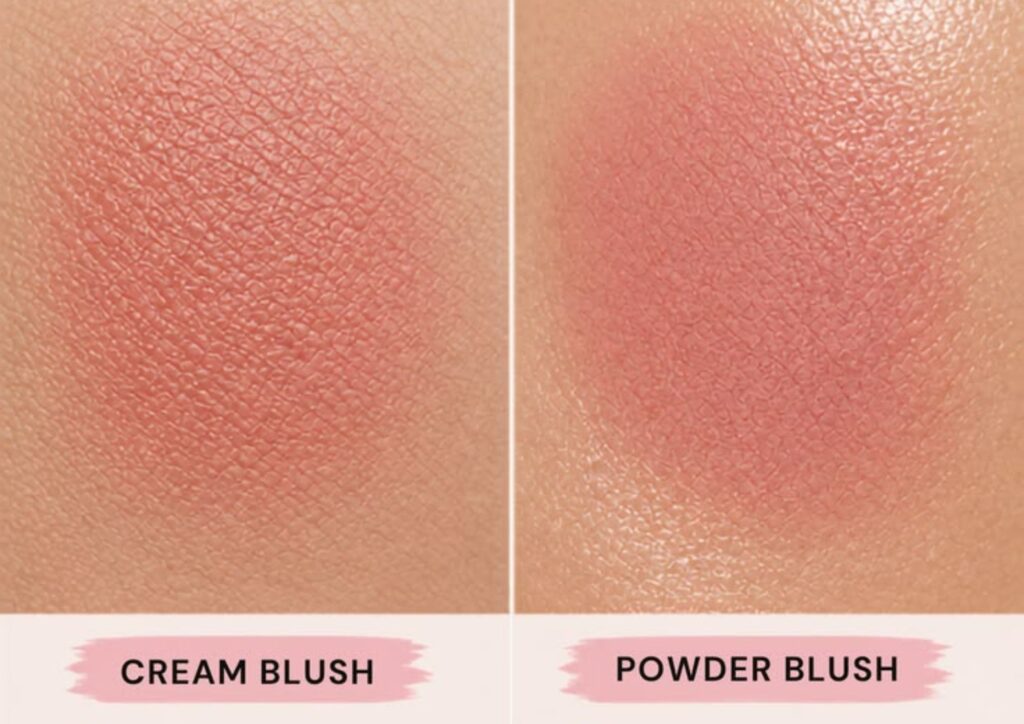
Both cream and powder blush can work beautifully with a round face.
The better option depends on your skin type, preferred finish, makeup routine, and which formula you find easiest to work with.
Cream Blush
Cream blush can give the skin a fresh, natural-looking finish.
It’s a good option if you prefer makeup that looks dewy, soft, or more skin-like.
Apply a small amount and blend it upward with your fingers, a makeup sponge, or a suitable brush.
Because cream formulas can be highly pigmented, starting with a small amount is usually easier than applying too much product at once.
Powder Blush
Powder blush is easy to build and can be a good choice if you prefer a softer or more matte finish.
Use a fluffy blush brush and apply a light layer first. You can then build the intensity gradually until you get the amount of color you want.
Powder blush can also be convenient if you already use powder products as part of your makeup routine.
Which Should Beginners Choose?
If you’re new to makeup, choose whichever formula feels easier for you to control.
The placement and blending technique are generally more important than whether your blush is cream or powder.
Try both if you have the opportunity and see which one fits your routine better.
Choosing the Right Blush Shade
There isn’t one specific blush color that you need to use simply because you have a round face.
Your ideal shade depends more on your skin tone, undertone, personal preference, and the makeup look you’re creating.
Some shades you might try include:
- Soft pink for a fresh everyday look
- Peach for a warm, natural appearance
- Rose for a slightly deeper, romantic look
- Mauve for a softer, muted finish
- Coral for a brighter and more vibrant makeup look
When choosing a shade, consider how it looks against your natural complexion and whether it complements your lipstick, eyeshadow, and overall makeup.
You can also adjust the intensity depending on the occasion. A sheer wash of color may work well for everyday makeup, while a stronger application can add more impact to an evening look.
Using Blush With Bronzer and Contour
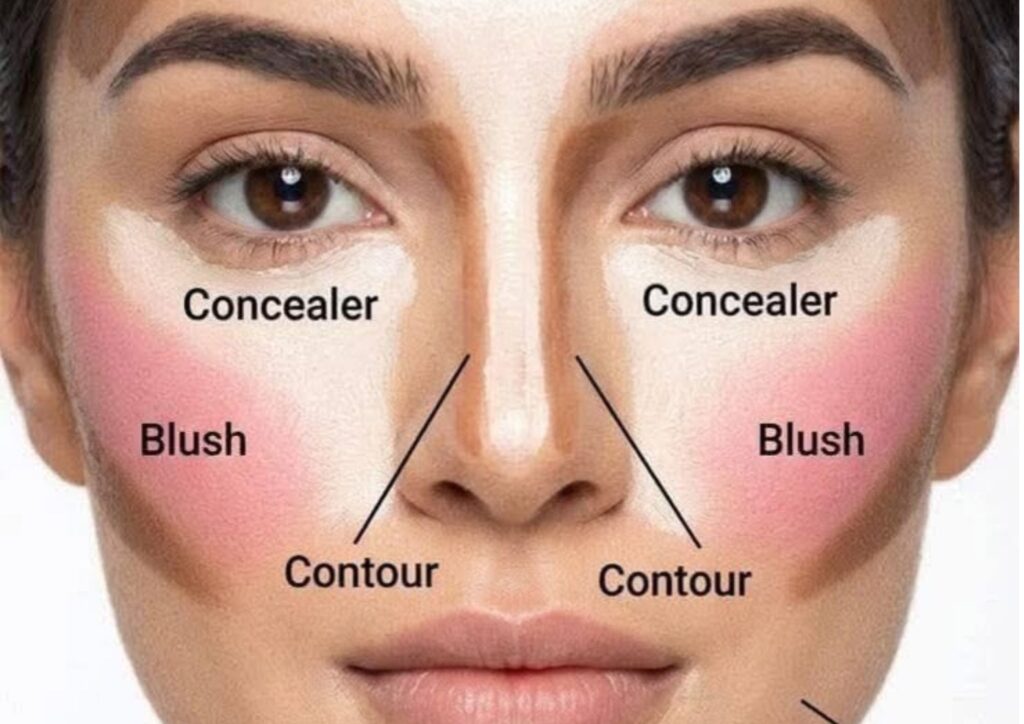
Blush doesn’t have to be used on its own.
It can work alongside bronzer, contour, and highlighter to add more dimension to your makeup.
A simple makeup order is:
- Foundation
- Concealer
- Contour or bronzer
- Blush
- Highlighter, if desired
If you’re using contour, place it slightly beneath the cheekbone while keeping the blush a little higher.
Then blend the two products carefully so there aren’t obvious lines between them.
You can think of the placement as:
Contour → Blush → Highlight
This creates a gradual transition from shadow to color and then light.
You don’t need to use all three products, though. If you prefer a simpler routine, blush alone can add plenty of color and dimension.
How to Create More Definition With Blush
If you want your makeup to create the appearance of more definition, focus on three simple things.
Keep the Blush Higher
Place most of the color around the upper cheek area rather than concentrating it low on the cheeks.
Blend Outward
Move the product toward the temples instead of bringing most of the color toward the center of your face.
Avoid Heavy Layers
Too much blush can overpower the rest of your makeup and make the cheeks the main focus.
Start with a small amount and build gradually until you reach the intensity you want.
Common Blush Placement Mistakes
Even when you know where you want your blush to go, a few small mistakes can affect the finished look.
Applying Too Much to the Apples
A heavy concentration of blush directly on the apples can make the cheeks look more prominent.
If you like applying blush there, simply use a lighter amount and blend upward.
Blending Downward
Dragging your blush toward the lower cheek can change the direction of the overall makeup.
For a lifted-looking effect, keep your blending motion primarily upward and outward.
Using Too Much Product
More blush isn’t necessarily better.
A heavy layer can make your makeup look less balanced, especially when combined with strong eye makeup or lipstick.
Start small and add more only when necessary.
Creating a Harsh Line
Blush should blend naturally into the surrounding makeup.
If you can clearly see where the blush starts and stops, use a clean brush or sponge to soften the edges.
Forgetting to Check Both Sides
It’s surprisingly easy to apply more product to one cheek than the other.
After applying your blush, step back from the mirror and look at your entire face rather than checking only one cheek at a time.
If one side looks stronger, lightly blend it until both sides look balanced.
A Quick Blush Routine for Beginners
If you want a simple routine that is easy to remember, try these five steps:
1. Find your cheekbone.
Locate the upper part of your cheek and use it as your guide.
2. Start slightly above the apples.
Apply a small amount of blush to the upper cheek area.
3. Blend upward.
Move the color gently toward your temples.
4. Keep the edges soft.
Blend until there are no obvious lines or harsh edges.
5. Build slowly.
Add another light layer if you want more color.
That’s all you need.
You don’t have to use complicated techniques to create a beautiful blush look. Good placement, a light hand, and careful blending can make a noticeable difference.
Frequently Asked Questions
Where Should Blush Start on a Round Face?
Start around the upper cheek area, slightly above the fullest part of the cheek. From there, blend the color outward and upward toward the temples.
What Blush Placement Creates a More Lifted Look?
Placing the strongest concentration of blush slightly higher on the cheeks and blending it upward toward the temples can create a more lifted-looking effect.
Should Blush Go on the Cheekbones or Apples?
You can use either placement.
If you want a more lifted appearance, try keeping most of the color around the upper cheekbone area and blending upward. If you prefer a softer, more youthful-looking flush, you may enjoy applying some blush to the apples as well.
Should I Apply Blush Before or After Contour?
If you’re using powder products, a common routine is to apply contour or bronzer first and blush afterward.
For cream products, follow the layering recommendations for the specific formulas you’re using.
The most important thing is to blend the products together so the transition looks natural.
Can I Wear Blush Without Contour?
Absolutely.
You don’t need contour to wear blush.
A simple blush application can add color and freshness to your face even if you prefer a minimal makeup routine.
Final Thoughts
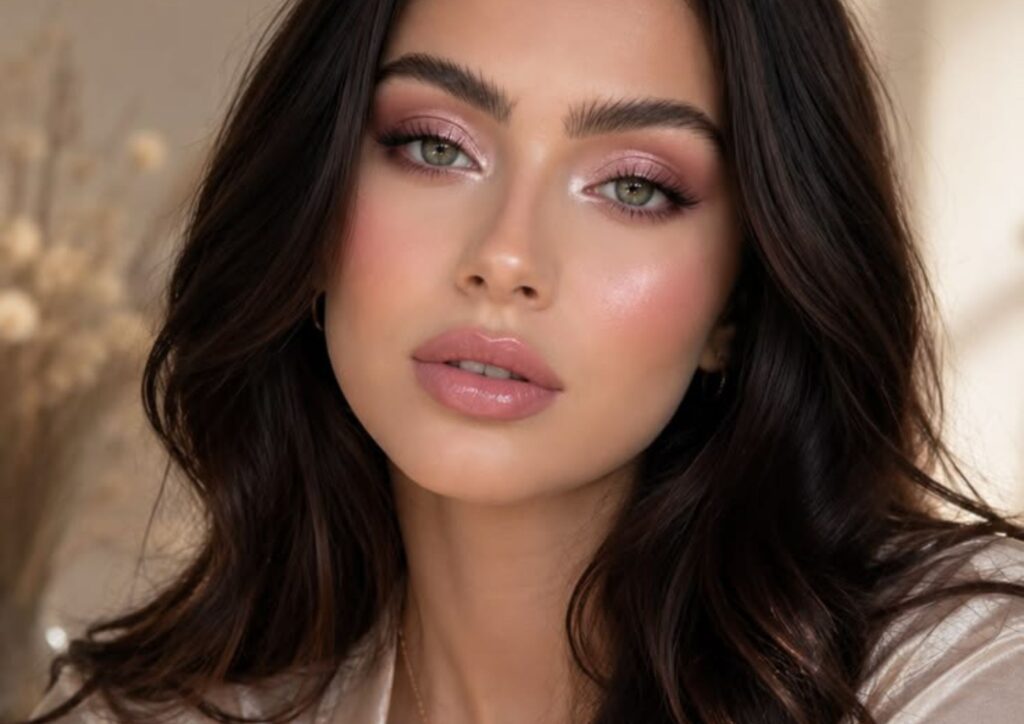
Learning how to apply blush to a round face is mostly about understanding placement, blending, and the kind of effect you want to create.
For a simple lifted-looking effect, try applying your blush slightly above the apples of your cheeks and blending it upward and outward toward your temples. Start with a small amount, soften the edges, and build the color gradually.
But remember that makeup isn’t about following a strict set of rules.
If you love the way blush looks on the apples of your cheeks, wear it that way. If you prefer a higher placement, go for it. Your face doesn’t have to fit into one particular makeup technique.
The best approach is to experiment with different placements until you find what makes you feel comfortable and confident.
Start light, blend well, and adjust the placement until you find the look you love.
Looking for more simple beauty tips? Check out our guide on 12 Ways to Look Good Without Makeup.