

Learning how to apply concealer properly can make a big difference in your makeup routine. Concealer can help cover dark circles, hide blemishes, reduce redness, and brighten areas of the face. But if you apply too much or use the wrong technique, it can look cakey or crease.
Whether you’re a beginner or want to improve your makeup routine, this simple step-by-step guide will show you exactly how to apply concealer.
What Is Concealer?
Concealer is a makeup product designed to provide more coverage than foundation in specific areas of the face.
While foundation is generally used to even out your overall complexion, concealer can be used more precisely to target areas such as:
- Dark circles
- Blemishes
- Acne marks
- Redness
- Dark spots
- Uneven skin tone
- Areas that need extra brightness
You don’t always need to use a lot of concealer. In many cases, applying a small amount exactly where you need it gives a more natural result.
What You Need to Apply Concealer
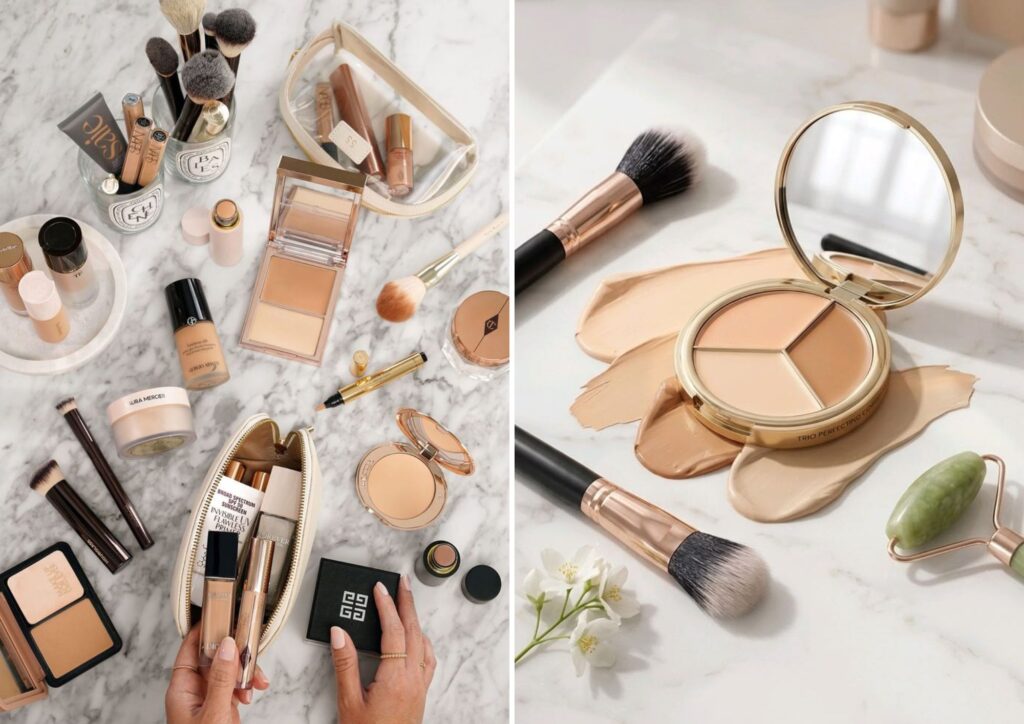
Before starting, gather a few basic products and tools.
You’ll need:
- Concealer
- Moisturizer
- Primer, optional
- Foundation, optional
- Concealer brush, makeup sponge, or clean fingertips
- Setting powder, optional
The exact products you use depend on your skin type and the type of makeup look you’re creating.
How to Apply Concealer Properly: Step by Step
Step 1: Start With Clean, Moisturized Skin
Good makeup application starts with proper skin preparation.
Clean your face and apply a lightweight moisturizer. Give it a few minutes to absorb before applying makeup.
If your skin is dry, moisturizing is especially important because applying concealer over dry, flaky skin can make the area look patchy.
If your skin is oily, choose a lightweight, non-greasy moisturizer.
Beginner tip:
Don’t skip this step simply because you’re using concealer. Well-prepped skin helps makeup blend more smoothly.
Step 2: Apply Primer If You Use One
Primer is optional, but it can help create a smoother base for makeup.
Apply a small amount to the areas where you want to improve the appearance of texture or help your makeup last longer.
Allow the primer to settle before moving on.
You don’t need to apply a thick layer. A small amount is usually enough.
Step 3:How to Apply Concealer Properly With the Right Shade
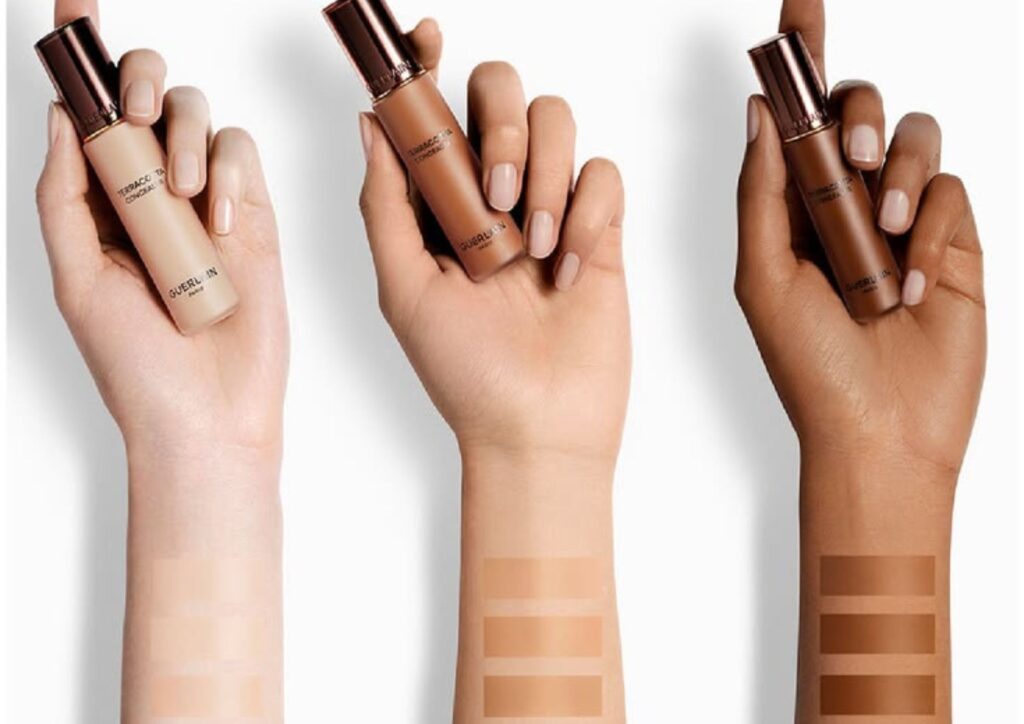
Choosing the correct shade is one of the most important parts of learning how to apply concealer.
The best shade depends on what you’re trying to achieve.
For Covering Blemishes
Choose a concealer that closely matches your skin tone or foundation shade.
A concealer that is too light can actually make blemishes more noticeable.
For Dark Circles
You can use a concealer that matches your skin tone for coverage. If your under-eye area has strong blue, purple, or gray tones, a suitable color-correcting product underneath your concealer may help neutralize the discoloration.
For Brightening
If you want to brighten the under-eye area or the center of the face, you can use a concealer slightly lighter than your skin tone.
However, avoid going dramatically lighter because it can create an unnatural, overly bright appearance.
Step 4: Apply Foundation First If You Use It
If foundation is part of your makeup routine, you can generally apply it before concealer.
This allows your foundation to provide some of the coverage first, meaning you may need less concealer afterward.
Apply your foundation evenly and blend it well.
Then look at your skin and identify the areas that still need additional coverage.
Beginner tip:
Using less concealer usually creates a more natural finish than applying a thick layer from the beginning.
Step 5:How to Apply Concealer Properly With the Right Amount

Now it’s time to apply your concealer.
Instead of applying a large amount immediately, start with a small amount.
For blemishes, place a tiny dot directly over the area you want to cover.
For under-eyes, apply a few small dots or a thin amount along the area that needs coverage.
You can always add more later if necessary.
Remember: It’s easier to build coverage than to remove excess product.
Step 6: How to Apply Concealer Properly With Gentle Blending
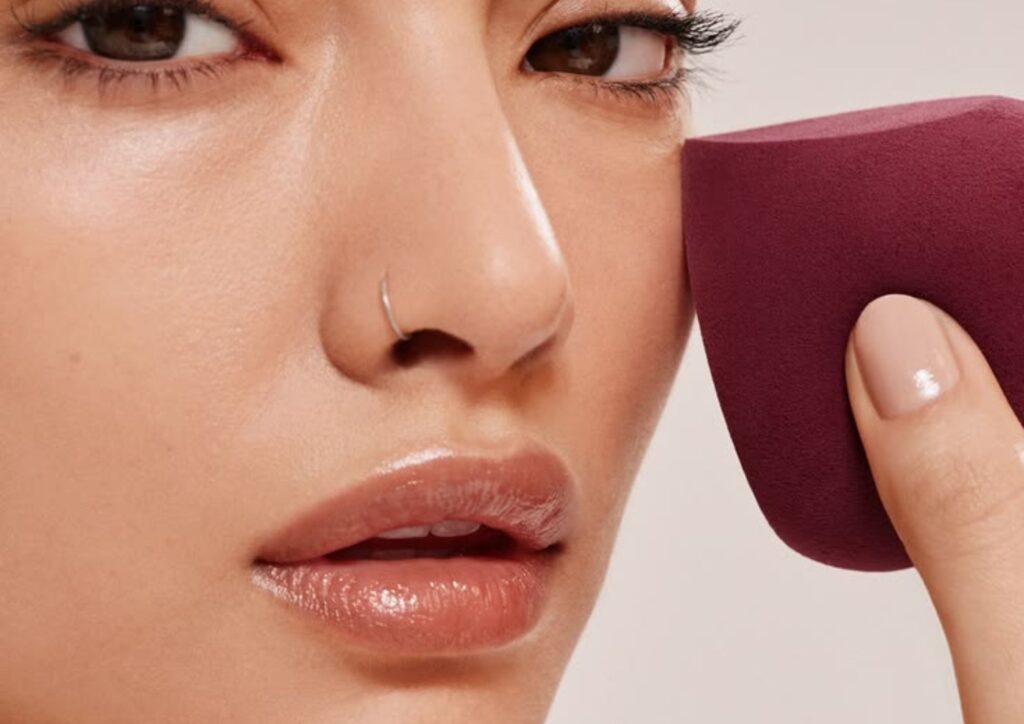
Blending is one of the most important steps.
You can use:
- A damp makeup sponge
- A small concealer brush
- Your clean fingertip
Gently tap or press the concealer into the skin rather than aggressively rubbing it.
A tapping motion helps distribute the product while keeping the coverage where you need it.
For the under-eye area, use gentle movements because the skin is delicate.
Beginner tip:
If you’re using a makeup sponge, don’t drag it across the skin. Lightly bounce or press it instead.
Step 7: How to Apply Concealer Properly and Build Coverage
After blending, take a moment to look at your makeup.
If a blemish or dark area is still visible, apply another very thin layer.
Blend again.
This technique is called building coverage, and it usually gives a better result than applying a thick layer all at once.
The goal is to cover the area while still allowing the skin to look natural.
Step 8: Check the Under-Eye Area for Creasing
Under-eye concealer can sometimes settle into fine lines.
After blending, look closely at the area.
If you notice product collecting in the creases, gently tap it out with your fingertip or sponge.
You can then apply a very small amount of setting powder if needed.
Avoid applying too much powder because it can make the under-eye area look dry or heavy.
Step 9: Set Your Concealer If Necessary
Setting concealer is optional, but it can help reduce creasing and improve longevity.
Use a small amount of finely milled setting powder and gently press it over areas where your concealer tends to move.
You don’t need to cover your entire face with powder.
Focus on areas such as:
- Under the eyes
- Around the nose
- Over blemishes
- Other areas where makeup tends to crease or wear away
Tip:
Use a light hand. Too much powder can make your makeup look cakey.
Step 10: Finish the Rest of Your Makeup
Once your concealer is blended and set, continue with the rest of your makeup.
You can apply:
- Blush
- Bronzer
- Contour
- Highlighter
- Eyeshadow
- Mascara
- Lip products
Try not to disturb the concealer when applying products around it.
How to Apply Concealer Properly Under Your Eyes
The under-eye area often requires a slightly different technique from covering blemishes.
Start by applying a small amount of concealer to the areas where you see darkness rather than covering the entire under-eye area with a thick layer.
Gently blend using a damp sponge, small brush, or fingertip.
If you want a brighter appearance, use a concealer slightly lighter than your skin tone.
For significant discoloration, a suitable color corrector can be applied before concealer.
Avoid Applying Too Much
One of the most common mistakes is using too much product under the eyes.
A thick layer can settle into fine lines and make them more noticeable.
Start small and build only where necessary.
How to Apply Concealer Properly on Blemishes
When covering acne, dark spots, or other blemishes, precision is more important than using a large amount of product.
Place a small amount directly over the blemish.
Use a small brush or fingertip to gently tap around the edges so the concealer blends into the surrounding skin.
Try not to aggressively rub the area because this can remove the coverage you’ve just applied.
Choose the Right Shade
For blemishes, a concealer close to your natural skin tone usually works better than a very light concealer.
A lighter shade can highlight the area instead of hiding it.
Common Concealer Application Mistakes
Even a good concealer can look uneven if it’s applied incorrectly.
Using Too Much Product
More concealer doesn’t always mean more coverage.
Too much product can create a thick, cakey appearance.
Instead: Start with a small amount and build coverage gradually.
Choosing a Shade That’s Too Light
A concealer that’s dramatically lighter than your skin can make blemishes or dark circles stand out.
Instead: Choose a shade appropriate for the area you’re covering.
Applying Concealer to Dry Skin
Dry, flaky skin can cause concealer to look patchy.
Instead: Moisturize and allow your skincare products to absorb before applying makeup.
Rubbing Instead of Tapping
Rubbing can move the concealer away from the area you’re trying to cover.
Instead: Use gentle tapping or pressing motions.
Applying Too Much Powder
Too much powder can make the skin look dry and emphasize texture.
Instead: Use a small amount only where you need it.
Not Blending the Edges
A visible line between your concealer and the surrounding skin can make your makeup look obvious.
Instead: Blend the edges carefully while keeping most of the coverage over the target area.
Concealer vs. Color Corrector: What’s the Difference?
Concealer and color corrector serve different purposes.
Concealer is designed to cover and even out the appearance of specific areas.
Color corrector uses contrasting colors to help neutralize certain discoloration before concealer is applied.
For example, some people use peach or orange-toned correctors for certain dark areas, while green correctors may be used to visually neutralize redness.
You don’t necessarily need a color corrector for everyday makeup. If your regular concealer provides enough coverage, you can keep your routine simple.
Should You Apply Concealer Before or After Foundation?
There isn’t one universal rule.
For everyday makeup, many people prefer:
Skincare → Primer → Foundation → Concealer → Setting powder
Applying foundation first can reduce how much concealer you need.
However, some makeup techniques use concealer before foundation, particularly when color correcting or creating specific makeup looks.
The best approach is the one that gives you the coverage and finish you prefer.
How to Apply Concealer Properly for a Natural Finish
Learning how to apply concealer properly can help you achieve a more natural-looking finish.
- Prep your skin first.
- Use a small amount of product.
- Choose the right shade for the area.
- Blend gently.
- Build coverage instead of applying too much at once.
- Set only where necessary.
- Avoid excessive powder.
Natural-looking concealer should look like skin—not like a thick layer sitting on top of it.

Final Thoughts
Learning how to apply concealer properly is mostly about using the right amount and applying it in the right places.
Start with moisturized skin, choose a suitable shade, apply a small amount, and blend gently. If you need more coverage, build it gradually instead of adding a thick layer all at once.
Whether you’re covering dark circles, blemishes, redness, or simply brightening your complexion, these simple steps can help you achieve a smoother and more natural-looking makeup finish.
With practice, you’ll find the technique and products that work best for your skin and your everyday makeup routine.
The key is simple: use less product, blend carefully, and build coverage only where you need it.
If foundation is part of your makeup routine, you can generally apply it before concealer. For a smoother base, see our guide on how to apply foundation without looking cakey.